Before getting too technical here, let’s compare baking to manufacturing. Have you ever wondered how professional bakers can make their treats look exactly like specific shapes? Their secret is molds – containers that give liquids, like batter, a shape when it cools. Manufacturers can also use molds to make their products.
What is Injection Molding?
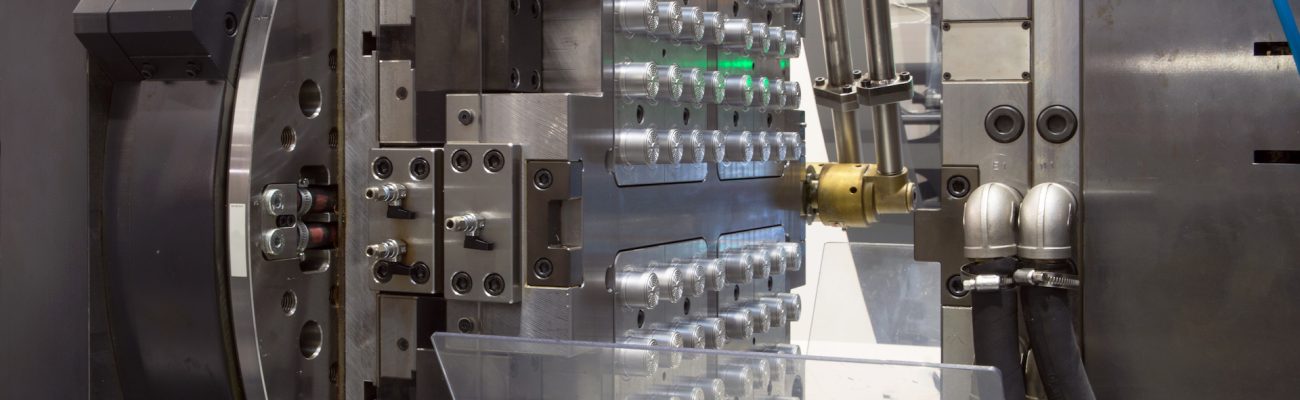
So what is injection molding, you ask? It’s the process of melted materials, typically rigid or flexible plastics, being inserted into a mold, cooling off, and becoming a finished product when removed from the mold.
Crucial Benefits
A crucial benefit of injection molding is its ability to produce a lot of product in a short amount of time. The idea here is that you don’t need to spend time making parts the slow way when a single injection mold can provide a lot of parts very quickly and comparatively inexpensive. This process also allows for incredible detail due to the extreme amount of pressure within molds. No chisels are required here – just imagine what Michelangelo could have created with injection molding! Lastly, this process is automated with the help of machinery and computer programs like CAD (computer aided design).
How to Get Started
The first step to getting started with your product is honing in on the perfect design. Not every design is right for injection molding and it might need to be machined, fabricated, or cast instead. If this process is right for you, then it’s time to draw up your design. Here’s where CAD really comes in handy – it helps to create detailed and schematic drawings of the product with true-to-life dimensions. Once you have a high-quality drawing, you can now create a prototype and test it out!
The Importance of Prototyping
Through injection molding, the parts themselves may not be incredibly costly but the mold tooling required to do it can be pricey depending on the complexity of your part. That’s why creating a prototype for testing purposes is incredibly important. In some cases, you can simply take your digital design and have a 3D printer work its magic. Now that you have a concept in hand, you can look it over and determine what needs to be altered. While this version should look pretty, it also should be fully functional.
Making the Mold Tooling
There are a lot of nuances required to make sure your product’s design is really moldable, too. Not all 3D-printed prototypes are moldable. Think about it this way – once the melted plastics get injected into your mold, you have to be able to open the mold back up and pull the part out. That takes some thinking and often some not-so-gentle redesign is required. Once the final design for the moldable part is firmed up, the mold tooling is typically machined using CAM (computer aided machining) software. The tooling is then tested via mold sampling, just to make sure everything comes out the way you expect.
Reaching the Production Stage
After you’ve got the kinks worked out, and your mold tooling finished, your product is now ready for full-scale production via injection molding. The question at this stage will be the number of parts you want for your first production run. Injection molding is fast-paced, and the beauty of the process is that you can get a whole lot of parts for a really reasonable price.
What’s Next for Your Product?
The final steps involve putting your finished product into operation and launching it! It may seem like a whole lot for one company to handle, but that’s why Custom Technologies exists. Our signature Minimum Viable Launch™ approach offers everything described above and more. Stop worrying about rough transitions between development stages, because Custom Technologies handles it all for you. We will lower your costs, save you time, and streamline your communication efforts.
Contact us today or visit customtechnologies.com.